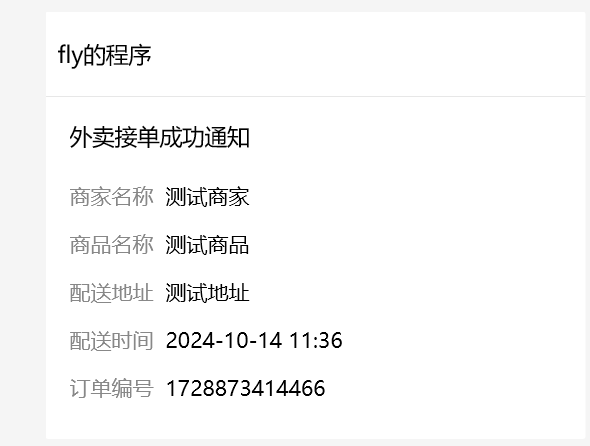
# 微信小程序模板消息
本文作者:程序员飞云
# 实现小程序发送订阅消息给指定用户
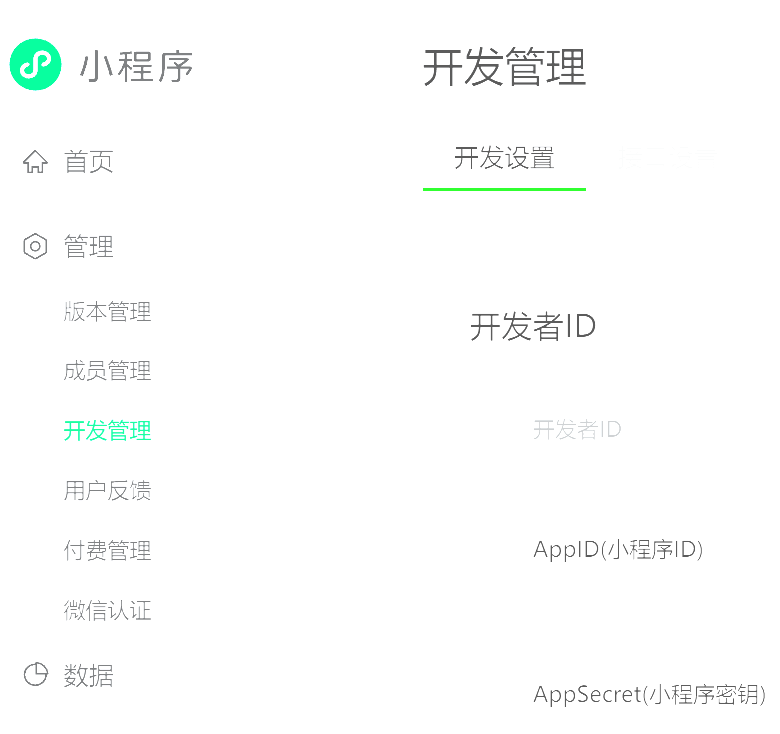
# 1. 配置好小程序,获取指定appid和appsecret
# 2. 配置用户隐私保护
进入账号界面,配置隐私保护,否则可能出现无法发送订阅消息问题。

# 3. 配置订阅消息模板
进入基础功能-订阅消息
个人账户只能使用一次性订阅,也就是用户每次都需要点击授权

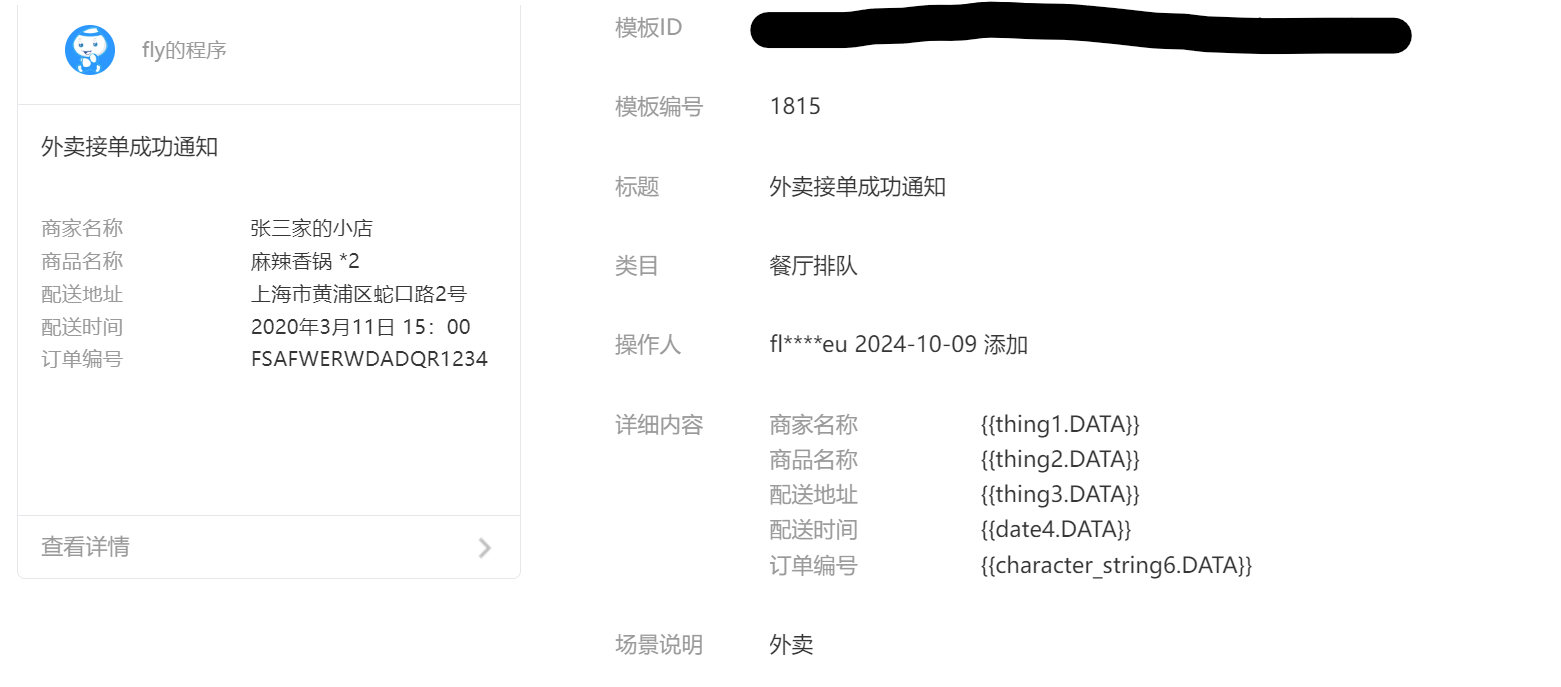
其中每一个字段都有相应的格式,如何格式不对,发送消息会失败,报错data format error rid: 670c8333-386618ab-24cc7dbf
对应长度限制类目模板消息 (opens new window)
# 4. 小程序界面授权
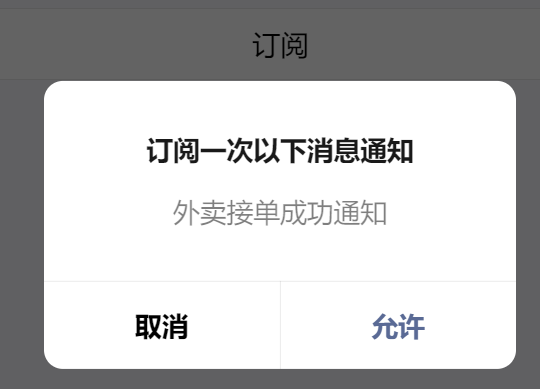
因为是一次性订阅,所以需要用户主动授权,才能发送成功。
核心代码
wx.requestSubscribeMessage(Object object) (opens new window)
调起客户端小程序订阅消息界面,返回用户订阅消息的操作结果。当用户勾选了订阅面板中的“总是保持以上选择,不再询问”时,模板消息会被添加到用户的小程序设置页,通过 wx.getSetting (opens new window) 接口可获取用户对相关模板消息的订阅状态。
<template>
	<view>
		<button @click="sub">订阅</button>
	</view>
</template>
<script>
	sub() {
    			//模板id
				const tempIds = ["xxx"]
				wx.requestSubscribeMessage({
					tmplIds: tempIds,
					success(res){
						console.log(res)
					},
					false(res){
						console.log(res)
					}
				})
			}
</script>
1
2
3
4
5
6
7
8
9
10
11
12
13
14
15
16
17
18
19
20
2
3
4
5
6
7
8
9
10
11
12
13
14
15
16
17
18
19
20
还需要获取用户的openid
# 5. 获取用户openid
用户登录,首先需要调用wx的login方法,获取对应的code,然后将这个code传递给后端,后端根据用户的这个code解析出对应的openid
<button @click="login">登录</button>
1
login() {
				uni.login({
					provider: 'weixin',
					success(res) {
						console.log(res)
						if (res.errMsg === "login:ok") {
							let jsCode = res.code
							console.log(res.code)
							const params = {
								code: jsCode
							}
							// 发送请求
							uni.request({
								url: "xxxx",
								data: params,
								method:'POST',
								success(res) {
									console.log(res)
								}
							})

						} else {
							console.log("登录失败,请联系管理员")
						}
					},
				})
			}
1
2
3
4
5
6
7
8
9
10
11
12
13
14
15
16
17
18
19
20
21
22
23
24
25
26
27
2
3
4
5
6
7
8
9
10
11
12
13
14
15
16
17
18
19
20
21
22
23
24
25
26
27

后端根据code解析
  //微信服务接口地址
    public static final String WX_LOGIN = "https://api.weixin.qq.com/sns/jscode2session";
	private String getOpenid(String code) {
        //调用微信接口服务,获得当前微信用户的openid
        Map<String, Object> map = new HashMap<>();
        map.put("appid", "");
        map.put("secret", "");
        map.put("js_code", code);
        map.put("grant_type", "authorization_code");
        String json = HttpUtil.get(WX_LOGIN, map);
        JSONObject jsonObject = JSON.parseObject(json);
        String openid = jsonObject.getString("openid");
        return openid;
    }
1
2
3
4
5
6
7
8
9
10
11
12
13
14
2
3
4
5
6
7
8
9
10
11
12
13
14
# 后端核心代码
# 1. 需要引入hutool依赖
        <!--微信推送功能-->
        <dependency>
            <groupId>com.github.binarywang</groupId>
            <artifactId>weixin-java-miniapp</artifactId>
            <version>3.8.0</version>
        </dependency>


        <dependency>
            <groupId>cn.hutool</groupId>
            <artifactId>hutool-all</artifactId>
            <version>5.8.26</version>
        </dependency>
1
2
3
4
5
6
7
8
9
10
11
12
13
2
3
4
5
6
7
8
9
10
11
12
13
# 2.获取用户access_token工具类
access_token (opens new window)
package com.sky.utils;

import java.io.IOException;
import java.util.HashMap;
import java.util.Map;

import cn.hutool.http.HttpUtil;
import cn.hutool.json.JSONUtil;
import com.fasterxml.jackson.databind.ObjectMapper;
import org.springframework.web.client.RestTemplate;

/**
 * 获取token
 */
public class WechatTokenUtil {

    private static final String GET_ACCESS_TOKEN_URL = "https://api.weixin.qq.com/cgi-bin/token?grant_type=client_credential&appid={APPID}&secret={APPSECRET}";

     /**
     * 获取token
     * @param appId 小程序appid
     * @param appSecret  小程序密钥
     * @return token
     */
    public static String getAccessToken(String appId, String appSecret) {
        String url = GET_ACCESS_TOKEN_URL.replace("{APPID}", appId).replace("{APPSECRET}", appSecret);
        String res = HttpUtil.get(url);
        // 包含access_token 和 expires 过期时间
        Map<String, String> token = (Map<String, String>) JSONUtil.parse(res);
        return token.get("access_token");
    }
}
1
2
3
4
5
6
7
8
9
10
11
12
13
14
15
16
17
18
19
20
21
22
23
24
25
26
27
28
29
30
31
32
2
3
4
5
6
7
8
9
10
11
12
13
14
15
16
17
18
19
20
21
22
23
24
25
26
27
28
29
30
31
32

# 3. 判断模板消息是否发送成功
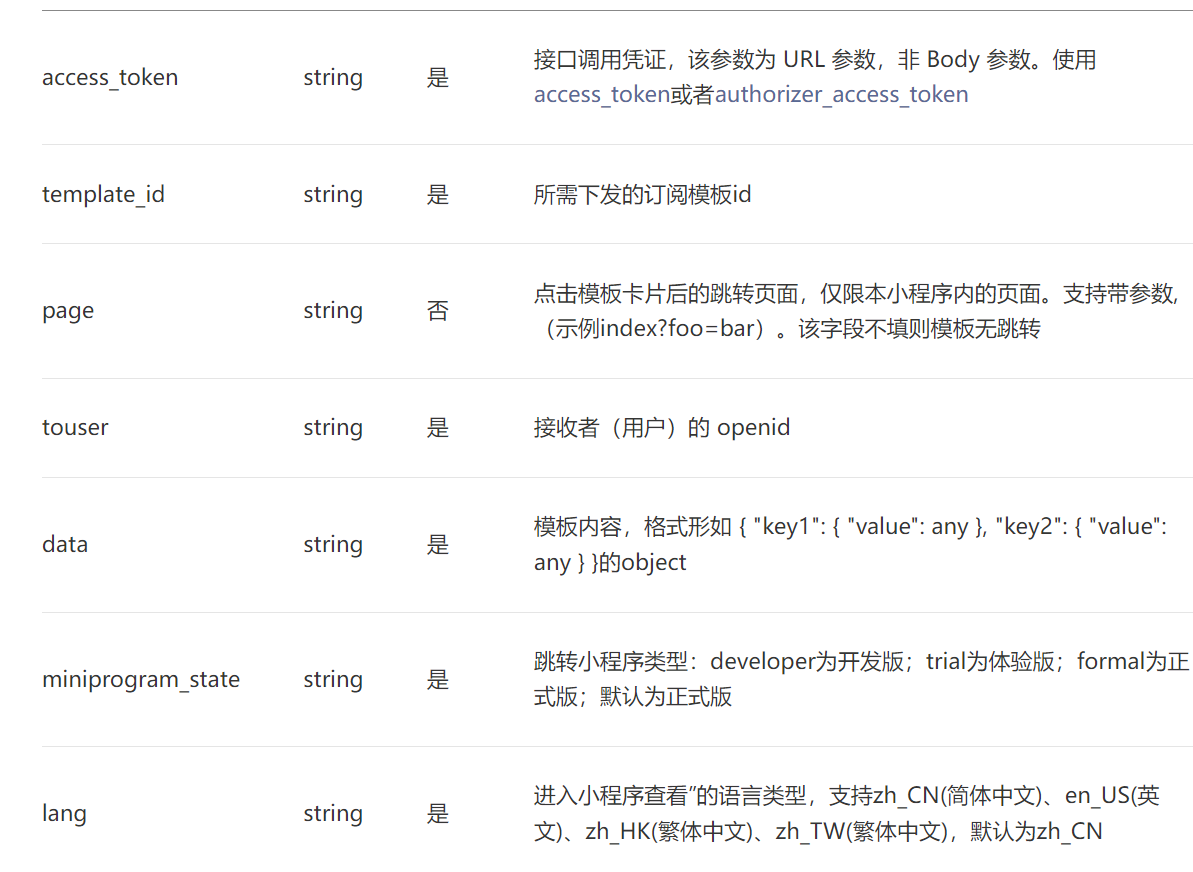
import java.util.HashMap;
import java.util.Map;

import cn.hutool.http.HttpUtil;
import cn.hutool.json.JSONUtil;
import org.springframework.web.client.RestTemplate;
/**
 *  微信模板消息发送工具类
 */
public class WechatMessageUtil {

     /**
     *
     * @param accessToken token
     * @param toUser      转发用户的appid
     * @param templateId  模板id
     * @param data        发送模板数据
     * @return  状态码 0表示成功
     */
    private static final String SEND_TEMPLATE_MESSAGE_URL = "https://api.weixin.qq.com/cgi-bin/message/subscribe/send?access_token={ACCESS_TOKEN}";

    public static boolean sendTemplateMessage(String accessToken, String toUser, String templateId, Map<String, Object> data) {
        String url = SEND_TEMPLATE_MESSAGE_URL.replace("{ACCESS_TOKEN}", accessToken);
        Map<String, Object> message = new HashMap<>();
        message.put("touser", toUser);
        message.put("template_id", templateId);
        message.put("data", data);

        String res = HttpUtil.post(url, JSONUtil.toJsonStr(message));
        Map<String, Object> result = (Map<String, Object>) JSONUtil.parse(res);
        return result.get("errcode").equals(0);
    }
}
1
2
3
4
5
6
7
8
9
10
11
12
13
14
15
16
17
18
19
20
21
22
23
24
25
26
27
28
29
30
31
32
33
2
3
4
5
6
7
8
9
10
11
12
13
14
15
16
17
18
19
20
21
22
23
24
25
26
27
28
29
30
31
32
33

# 4. 测试
import java.util.HashMap;
import java.util.Map;

public class Main {

    private static final String APP_ID = "xx";
    private static final String APP_SECRET = "xx";
    private static final String TEMPLATE_ID = "xx";
    private static final String TO_USER = "xx";

    public static void main(String[] args) {
        String accessToken = WechatTokenUtil.getAccessToken(APP_ID, APP_SECRET);
        Map<String, Object> data = setTemplateData();
        boolean success = WechatMessageUtil.sendTemplateMessage(accessToken, TO_USER, TEMPLATE_ID, data);
        if (success) {
            System.out.println("消息发送成功!");
        } else {
            System.out.println("消息发送失败!");
        }
    }

    /**
     * 设置模板数据
     * @return
     */
    private static Map<String, Object> setTemplateData() {
        // 创建数据映射
        Map<String, Object> data = new HashMap<>();

        // 设置商家名称
        Map<String, String> thing1 = new HashMap<>();
        thing1.put("value", "测试商家");
        data.put("thing1", thing1);

        // 设置商品名称
        Map<String, String> thing2 = new HashMap<>();
        thing2.put("value", "测试商品");
        data.put("thing2", thing2);

        // 设置配送地址
        Map<String, String> thing3 = new HashMap<>();
        thing3.put("value", "测试地址");
        data.put("thing3", thing3);

        // 设置配送时间
        Map<String, String> date4 = new HashMap<>();
        date4.put("value", "2022-01-01 12:00");
        data.put("date4", date4);

        // 设置订单编号
        Map<String, String> characterString6 = new HashMap<>();
        characterString6.put("value", "202201010001");
        data.put("character_string6", characterString6);
        return data;
    }
}
1
2
3
4
5
6
7
8
9
10
11
12
13
14
15
16
17
18
19
20
21
22
23
24
25
26
27
28
29
30
31
32
33
34
35
36
37
38
39
40
41
42
43
44
45
46
47
48
49
50
51
52
53
54
55
56
57
2
3
4
5
6
7
8
9
10
11
12
13
14
15
16
17
18
19
20
21
22
23
24
25
26
27
28
29
30
31
32
33
34
35
36
37
38
39
40
41
42
43
44
45
46
47
48
49
50
51
52
53
54
55
56
57
